|
Back to Blog
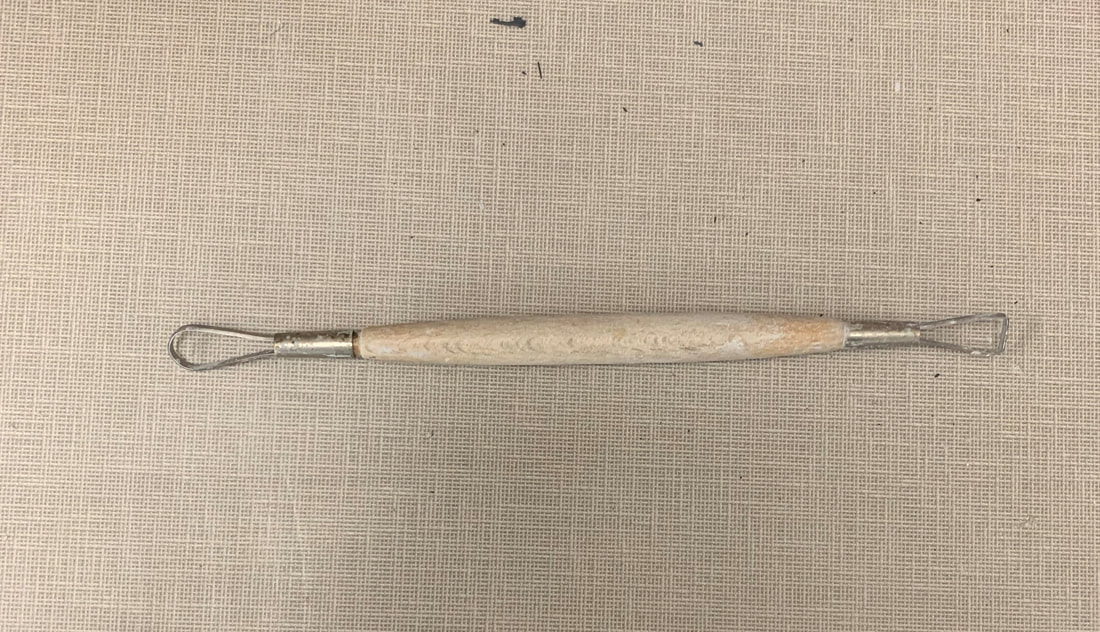
Final Exam1/5/2019 Required Question #1:Tools I have used have been ones you use to create designs in clay, for an example I used the ribbon tool to create dimension and design in my piece. This tool helps to scrape away clay for design. To smooth my clay pieces, I used A wooden rib tool. This helped to speed up the process to make my piece smooth and even. If I didn't have a tool and used my fingers/ hands, the process would go by way slower and not look as neat and even. Required Question #2:My understanding of tools has changed throughout the year by not knowing names of tools such as the ones you use with clay. I also for the first time used to clay wheel. I never knew the steps of how to make a clay piece on a wheel and I also didn't know how difficult the task is. I learned how to make paper mache along with the different stages of clay such as leather hard. I also learned how to use clay tools to trim down clay pieces and not make sharp. 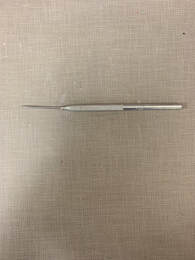 Picked Question "What was your favorite material that you used this year? Why do you like working with it?"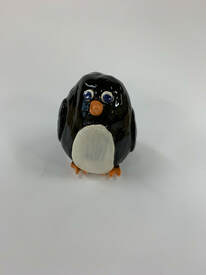 My favorite material I used this year was clay. I liked working with this material because of how easily you can mold your work and can be a forgivable material. I did not really enjoy paper mache because of how messy it is. Clay can be messy, but not as bad as paper mache and grouting for mosaic. The clay projects also had a lot of flexibility or a broad group of choices such as you had to create an animal. Along with the clay projects, at the end you could glaze your piece which is similar to painting which I enjoy doing. Picked Question "Which project was your most successful? Describe the theme and or topic and the process you went through to complete the project."
Picked Question "Which project was your least successful? Explain why you consider this work of art unsuccessful? If you were to create this project over, what changes would you make?"
0 Comments
Back to Blog
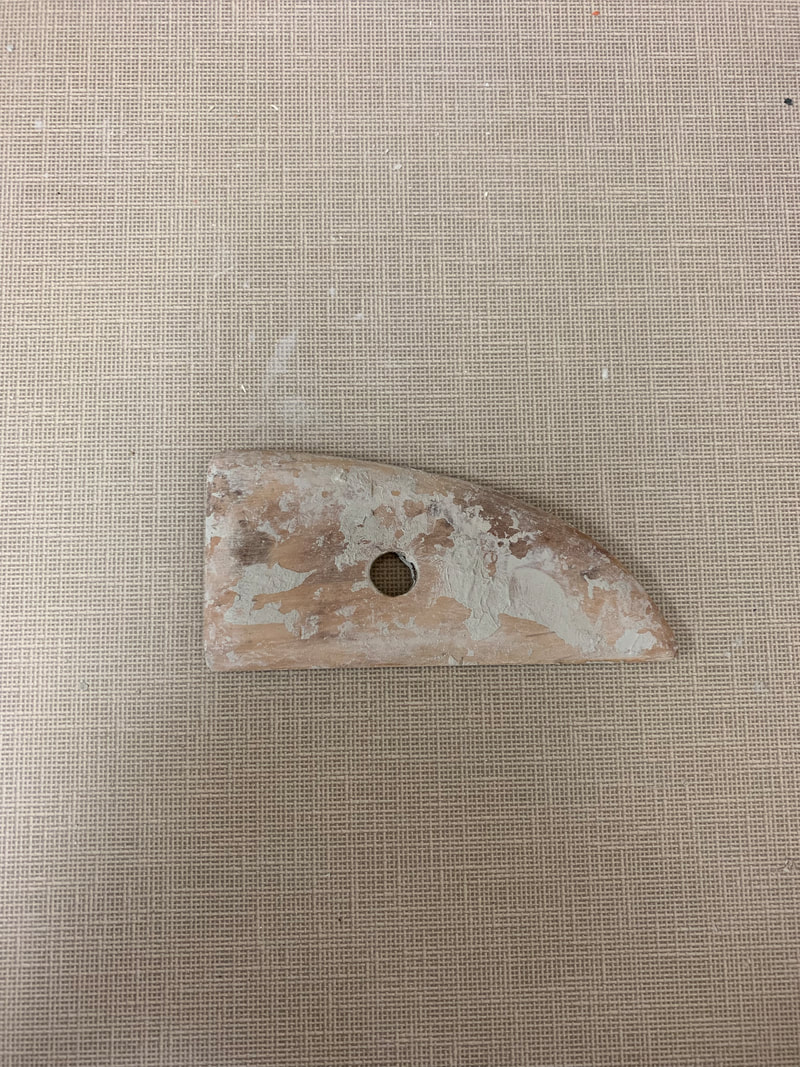
Throwing on the Wheel1/5/2019 Finished Piece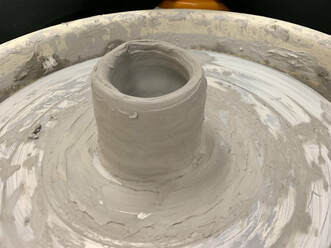 The process of throwing is putting a wedged pieces of clay on the wheel. Wet your hands with water. Once you do that you center the piece and then you start pushing down in the middle of the clay. Then you push down on the center of the piece and then put outward. Once the piece is the shape you want you can take piece off of wheel. Difficulties I had when trying the wheel was centering the piece and finding the speed of the wheel it needed to be at. What I also found difficult was pushing down on piece to create the opening without breaking the piece. What I found successful was smoothing the piece and pushing it into the middle.
Back to Blog
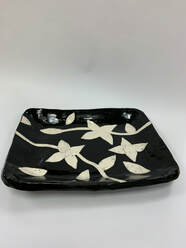
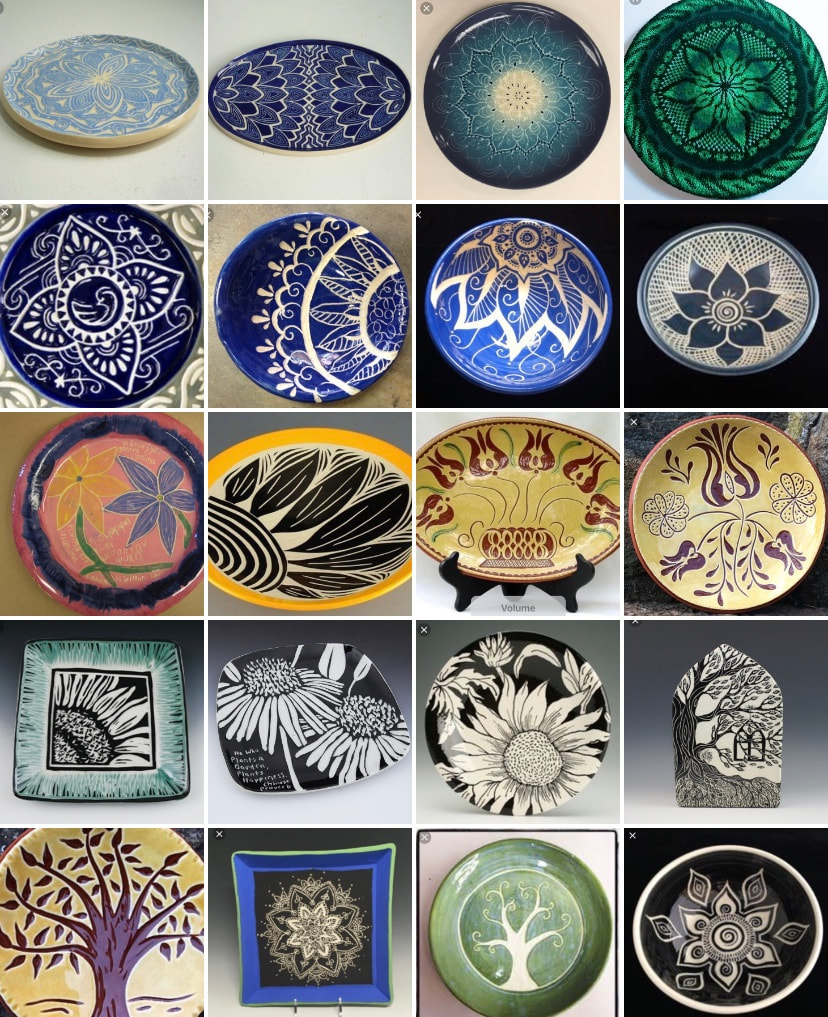
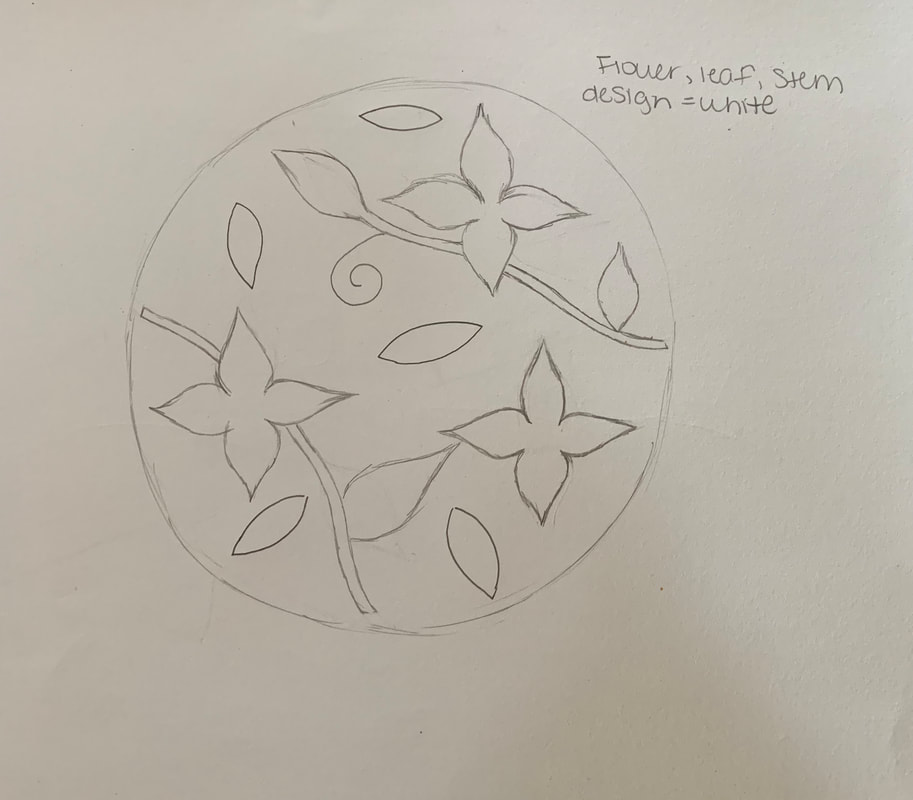
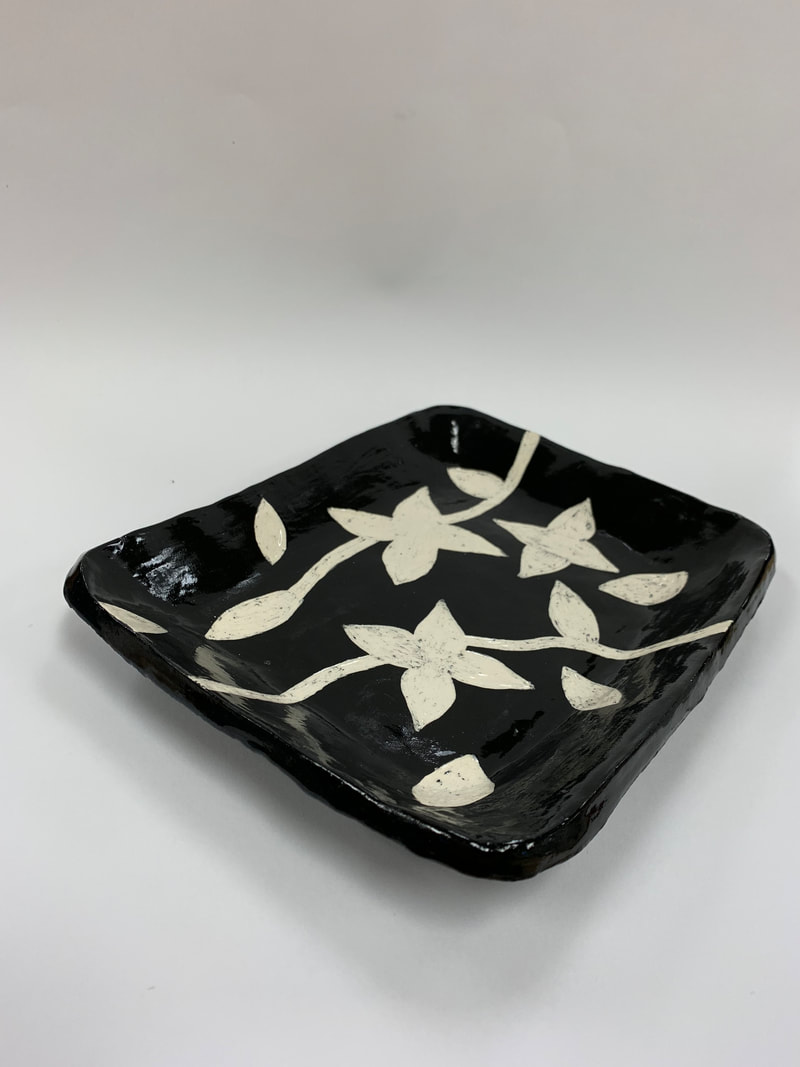
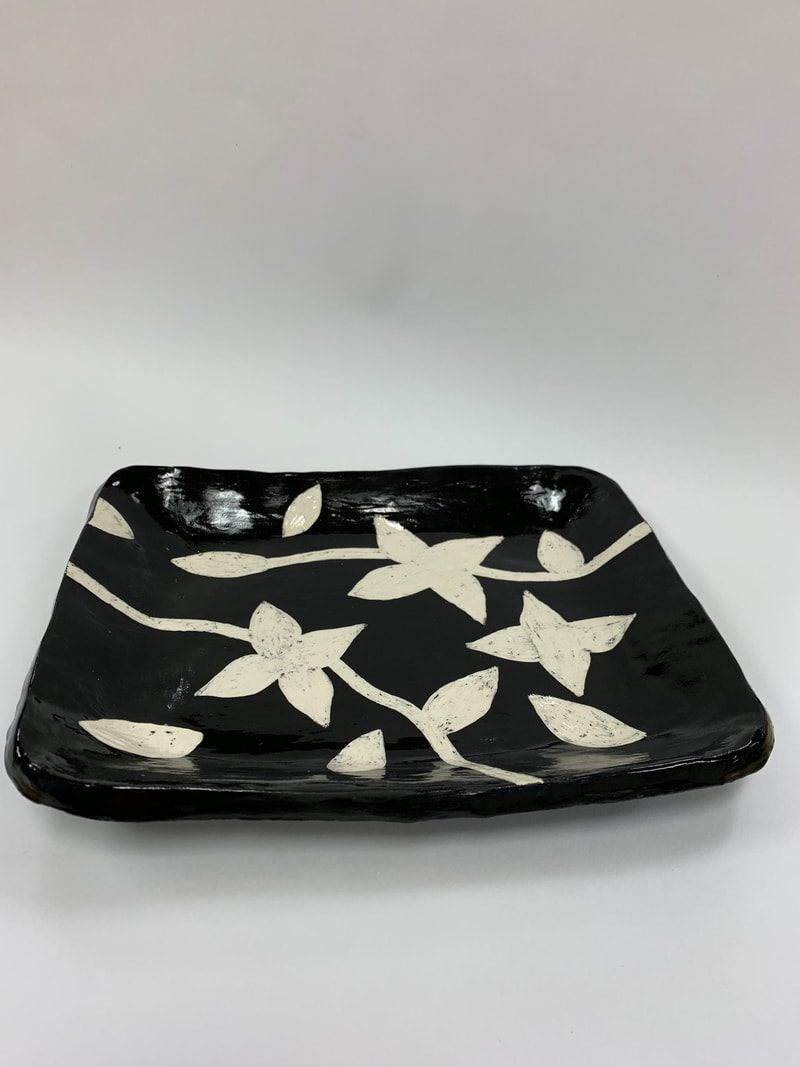
Sgraffito1/4/2019 Sgraffito inspiration and sketch(Talked to teacher explained why I don't have in progress) The way I got my idea was I really enjoy designs of flowers and drawing them so I instantly knew I wanted to do that as my design. I then looked up designs of flowers on sgraffito art pieces such as mugs, plates, and trays and saw all the different flower looks I could create. By looking at other art pieces had me decide to incorporate stems and leaves along with the flowers. The process I had was finding a tray that I liked that was plastic to use to create my mold. Once I found that I then put a large slab of clay into the mold and cut the leftover parts of the clay along the edges. I then let my piece become leather hard so that the clay could withhold the shape and could be taken out of mold. I then glazed my piece with the black topcoat with a few layers and once dry carved my design into the piece. Sgraffito FinalThe process I had was finding a tray that I liked that was plastic to use to create my mold. Once I found that I then put a large slab of clay into the mold and cut the leftover parts of the clay along the edges. I then let my piece become leather hard so that the clay could withhold the shape and could be taken out of mold. I then glazed my piece with the black topcoat with a few layers and once dry carved my design into the piece. I found the process of carving the design into the sgraffito piece very fun and reminded me of when I was in middle school and we would put ink of a rubber slab and carve designs into it. You would then dip the slab into ink and could be used as a stamp. I feel the shape and the look of the design to be successful and I really like how that turned out. Something I would change is maybe smooth by piece more on the bottom before being placed into mold to harden and also the carving of the design to be smoother.
Back to Blog
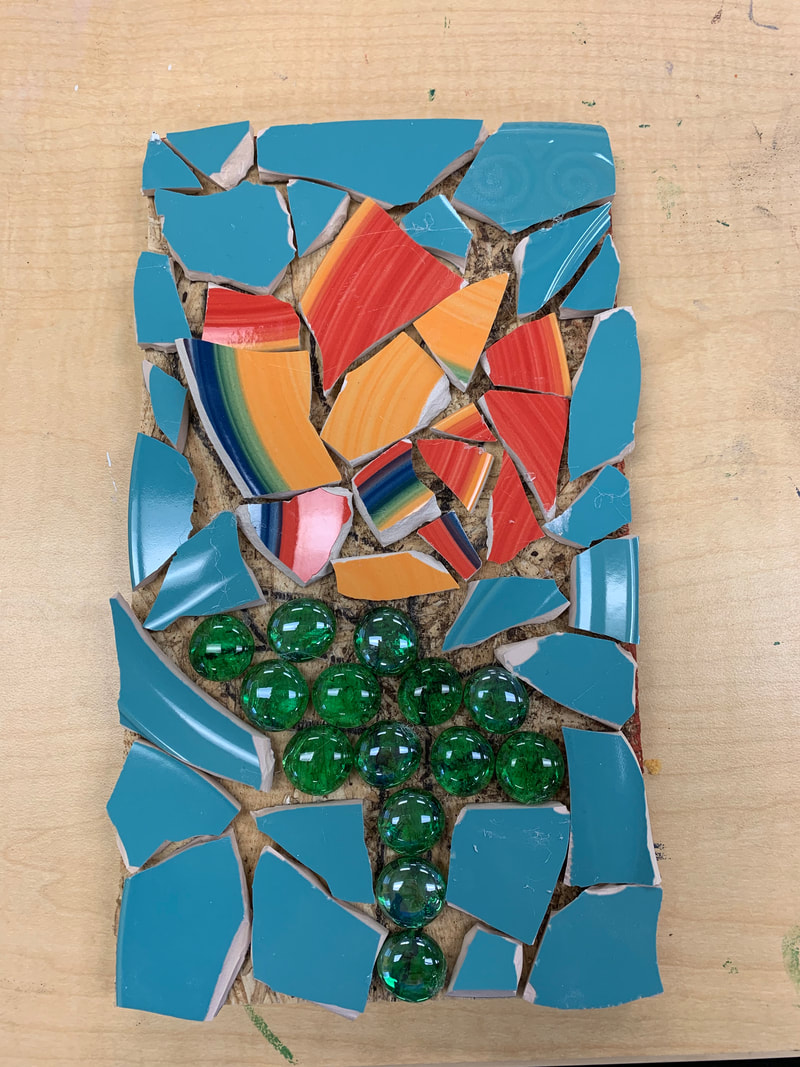
Mosaic1/4/2019 Mosaic in Progress and SketchFinished Mosaic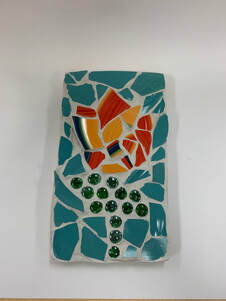 The reason I chose this design is because I enjoy art that involves flowers and I thought a flower that is a mosaic would look really cool. I chose to do a background color that is blue and have the pop of color to my piece to be the flower. What was most difficult about my piece was was finding pieces that fit into certain spots since I chose to break already made plates and not make the pieces by hand for specific spots. What I found successful was the shape of the flower because many of the pieces were pointy to create the look of the petals. The small pebble type pieces that are green I used for the stem and the leaves I think look very good and fit nicely. What I would change if I did this again is maybe break the pieces smaller to help them fit closer together.
Back to Blog
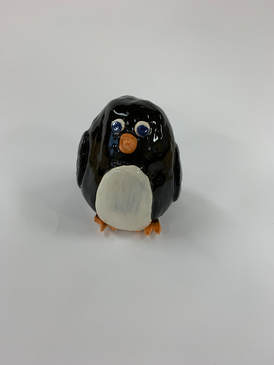
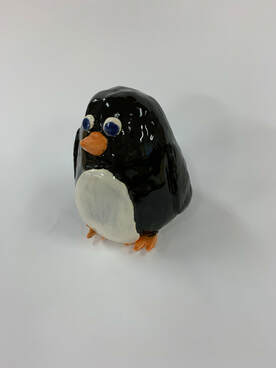
Installation (Clay)12/20/2018 In Progress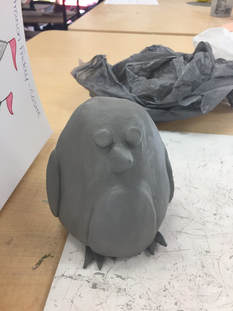 Final
The process to make this clay penguin was a created two pinch pots and then score and slipped them together to make a round penguin. I then shaped eyes, beak, stomach, feet, and wings and then score and slipped. Once the piece was fired the first time, I need glazed the penguin. My piece was successful by making the shape of he penguin along with the details. Difficulties with this project is the shape at the top starting to sink which made the top lumpy and hard to fix.
Back to Blog
Paper Mache Butterfly10/25/2018 In Progress: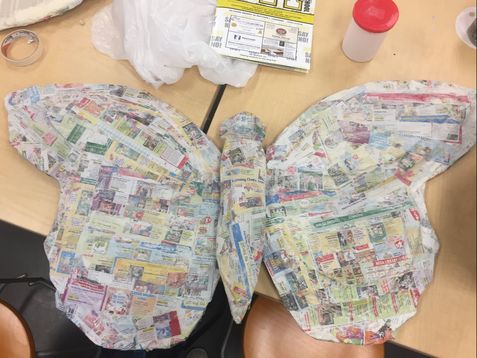 The parts I did for this project is I cut out the shape of the butterfly, helped tape the piece, cut strips of paper, and helped place those strips of paper onto the butterfly. The process of paper mache is mixing flour and water to create a pancake mix consistency. Then you place the pieces of paper onto the piece when it has the paste all on it. You need to make layers of paper mache onto your piece in which dries hard.
Back to Blog
Installation Presentation10/9/2018 The part I worked on for this presentation was the title page, the installation definition, all about Christo the artist and his projects. I also created the first installation piece drawing that is located in Bora Bora.
Back to Blog
Group Pottery Story9/20/2018 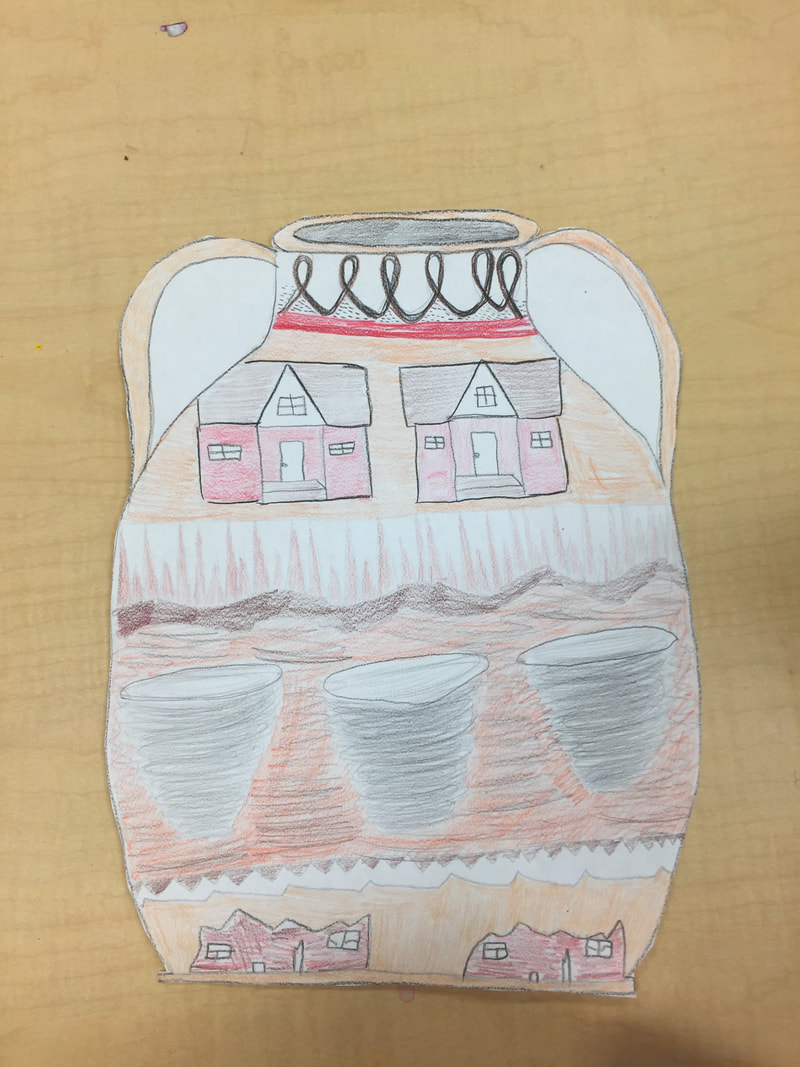 This is a pelike vase which is used to store oils and wine. I worked on coming up with the setup of the piece along with the coloring of the piece. I also picked out the type of vase to do.
Back to Blog
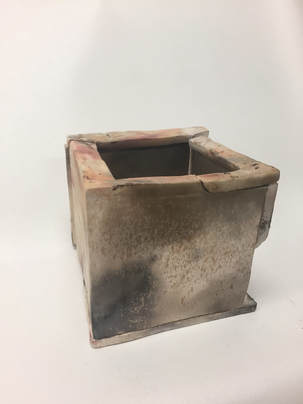
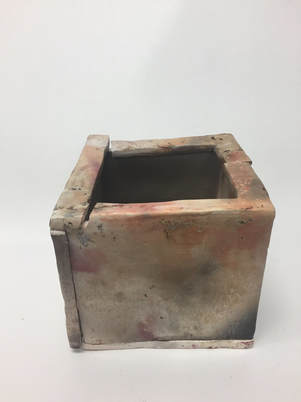
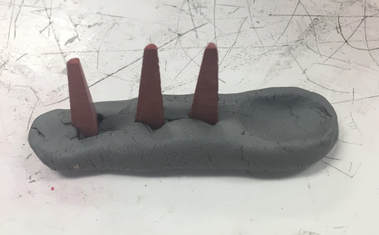
Fire Pit Pottery9/20/2018 Inspiration: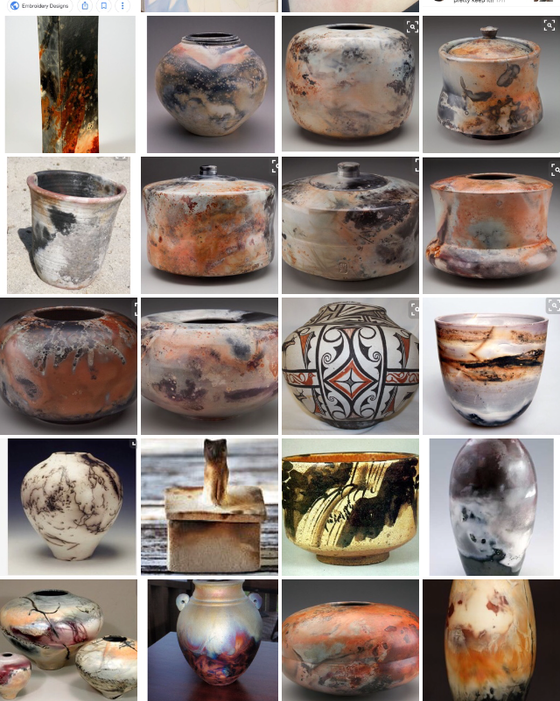 Draft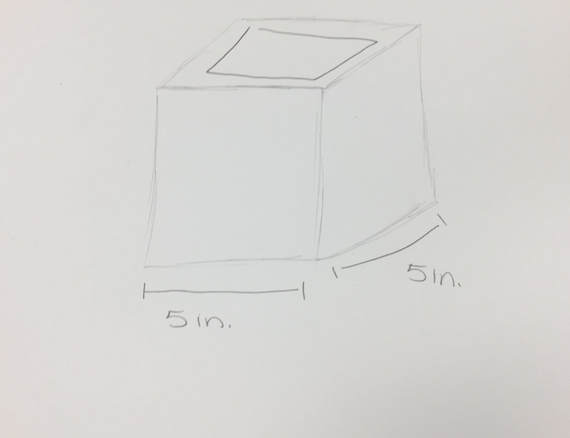 In progress Photo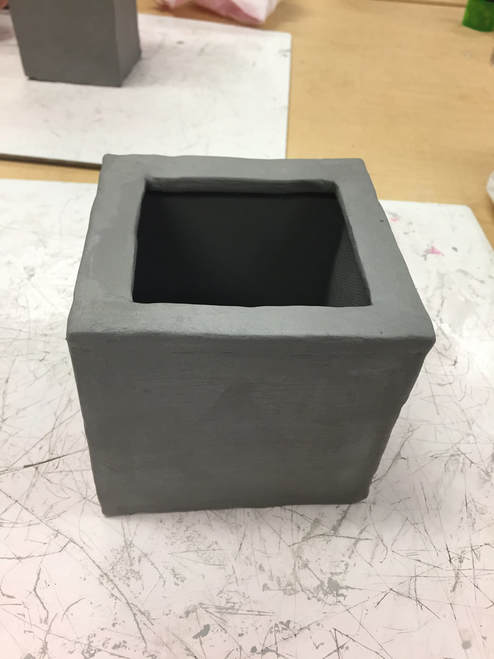 1) The process I've used to create this piece is cutting out slabs and then scoring and slipping them together to create this box. For the top, I cut a square out of the top to create a hole out of the top. 2) Difficulties I have come across is smoothing the slabs together to make the piece look like one. What was successful was cutting out the slabs for the correct sizing and my original design working out. 3) From here, I may add a lid on the top to create more of a design and so far the design has not changed from the original sketch. Final fire pit pottery
1) The process of fire pit ceramics is putting chemicals along with other things like wire, leaves, etc. to create different colors in your pieces. The pieces are then burned in a pit fire. After the pieces are burned, they cool down so they are no longer hot and then sprayed to make the piece all shiny in the end.
2) I felt my piece was successful in the beginning but my piece was broken I believe during the firing so I had to glue the pieces. The colors on my piece I did like with the use of the leaves and the wiring. What I would change is maybe make my piece thicker to not break as easily if that was the issue. 3) I burned salt, wire, and leaves on my piece. I then wrapped my piece with aluminum foil wrapped around the piece. |